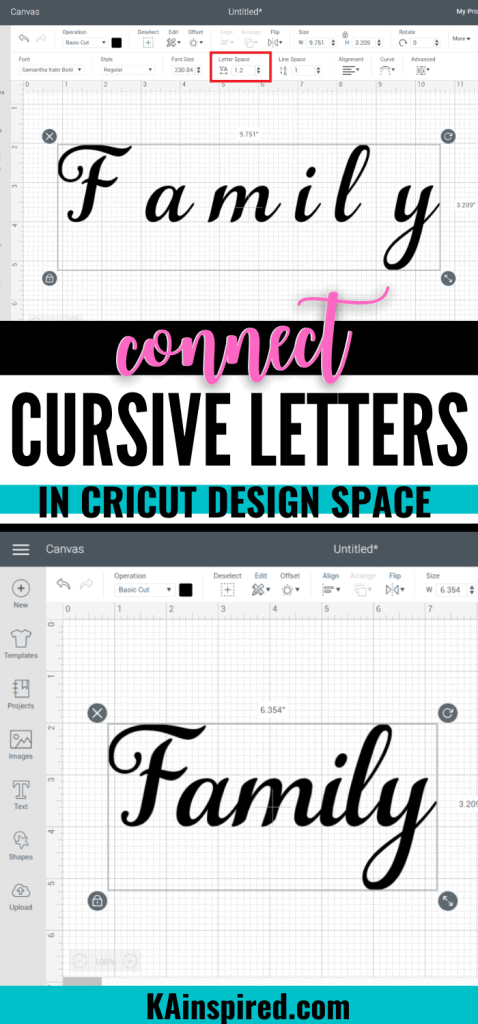
If you want to use a cursive font with your cricut, then you are going to need to learn how to connect cursive letters with using Cursive fonts in Cricut Design Space.
Think about it – when you write cursive, the letters are connected in a line. That is what makes cursive a pretty font.
But if you have ever tried to use a script front with Cricut, you’ll notice that the letters are not connected. Unfortunately, Cricut likes to separate all the letters making the font ugly.
So I’ll teach you how to adjust the spacing between each letter and weld them correctly so you can have a pretty script font.
If you are new to Cricut, first you will need to download Cricut Design Space and check out these Cricut Hacks.
HOW TO CONNECT CURSIVE FONTS IN CRICUT DESIGN SPACE
Before you can connect cursive letters in Cricut, you’ll need to use the text tool to type out the word or phrase on the Cricut Canvas. Then select the script font from the font drop down menu.
In this example, I am using the most popular Cricut cursive font Samantha.
You can also check out Creative Market and Fontbundles for new fonts and even free fonts with commercial rights.
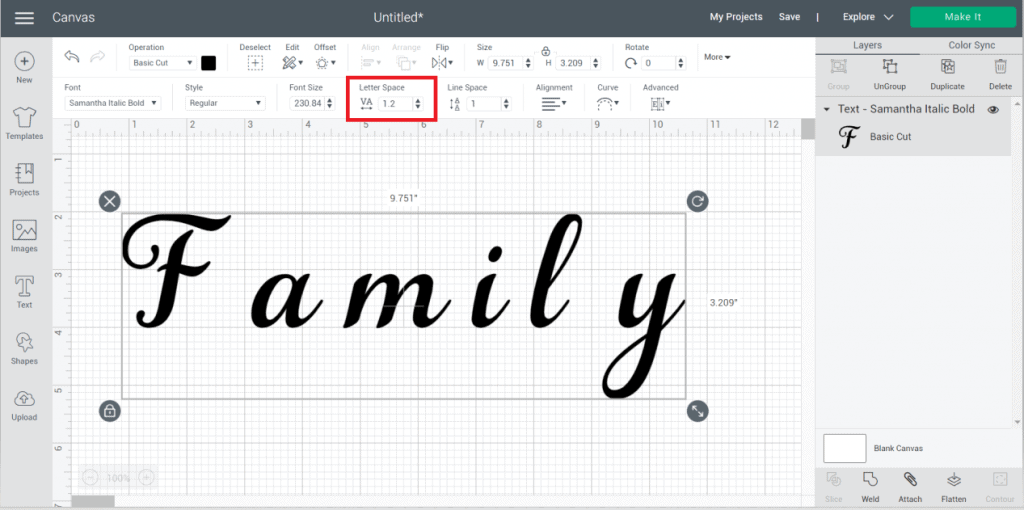
LETTER SPACE TOOL
Cricut Design space has a tool call Letter Space. It is located in the toolbar at the top of Cricut Design Space.
Type out the text in the cursive font of your choice. Highlight the text and click the up or down arrow under the Letter Space tool.
Watch the spaces between the letters get smaller or bigger.
Sometimes using the letter space tool can make some cursive letters connect perfectly, while other letters may be too close or still too far away. So then you can use the ungroup feature to connect the rest of the cursive letters.
UNGROUP FEATURE TO CONNECT CURSIVE LETTERS
The ungroup feature is another easy way to connect cursive letters.
You will select the text that you want to connect the letters and right click and select “ungroup”. Now each letter can move separately.
So click the letter you want to move and click the directional arrow on your keyboard to move the cursive font to connect the letters.
You can also use your mouse cursor and select the letter and drag it over to the letter next to it to connect cursive letters.
BEST WAY TO CONNECT CURSIVE LETTERS
I found the best ways to connect cursive letters is by using both tools.
First I like to use letter space tool to get the letters as close as possible. Some letters may line up perfectly while others may be too far apart or too close.
Select the entire text and ungroup the letters so you can manually connect each letter perfectly.
CRICUT CURSIVE FONT TIP
Once your text is lined up perfectly to form a cursive line, you are going to want to do this last Cricut Cursive Font Tip.
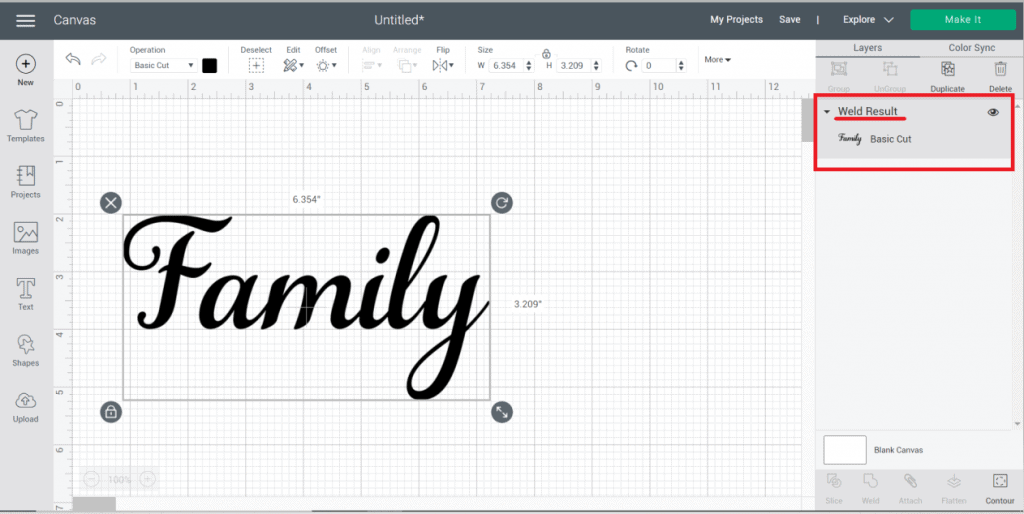
You will want to weld the letters together to connect them to cut correctly.
Select the entire text and on the right hand side, click weld.
This will ensure your letters are cut all together and not individually. You never want to cut cursive letters with Cricut individually.

WELD TOOL WITH CRICUT
If you don’t weld your text, each letter will cut separately making the font not look like a nice cursive Cricut Font.
Cursive fonts are supposed to be a
You can double check that you welded your letters by looking at the layers panel on the right hand side. You will see it will say “weld result”.
HOW TO CONNECT CURSIVE FONTS IN CRICUT DESIGN SPACE